One of the big challenges in home automation is getting devices to talk to each other. It seems like every manufacturer wants you to subscribe to their service or use their web client.
For simple automations this is sometimes enough. Especially if all of your automation hardware is from the same vendor.
But what about when you want to do something that the big vendors don't support? Or what if you want to use a device that doesn't have a web client or a service?
No matter what devices you want to use, if you can get them on your MQTT broker, you can automate them any way that you want. This is especially true with home-made devices that do not have any sort of cloud service.
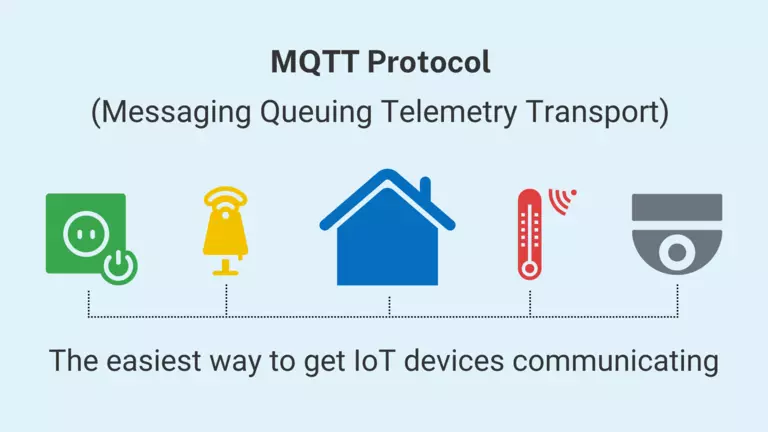
Let's do a deep dive into MQTT and why it's one of the most important protocols in home automation.
Home-Brew and Home-Made Hardware
MQTT is a perfect fit for home-brew home automation projects. It's a simple protocol that is easy to implement and easy to use. It's also very lightweight and can be implemented on almost any microcontroller.
The only requirement is that you need to be able to connect to a network. This means that you can use MQTT with almost any device that has a network connection.
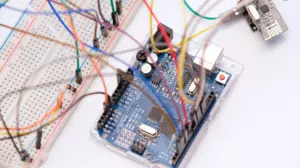
Fortunately it's extremely easy and inexpensive to put small electronics projects on a WiFi network, and subsequently have them join your MQTT broker.
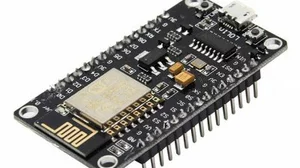
For instance, you can purchase a small ESP8266 based NodeMCU module for less than $5. After you flash the firmware with EspEasy, you can connect it to your WiFi network and have it join your MQTT broker. You now have a fully functional home automation device that you can control from your home automation software.
MQTT Is Independent of Other Home Automation Services and Protocols
Running an MQTT broker on your home network adds to the reliability of your device connections. Instead of having all of your home automation devices rely on a single cloud or local service, you can divide your automations and device connections into multiple independent systems.
It is possible to run your MQTT broker on a dedicated device, like a Raspberry Pi or Orange Pi. This is a great way to keep your MQTT broker running even if your home automation server reboots or otherwise goes down.
Or, you can run your MQTT broker in a Docker or a virtual machine. This way, when you reboot your other home automation devices, your MQTT broker will still be running. This adds to network resilience.
MQTT works Along With Home Assistant and Node-RED
Both Home Assistant and Node-RED support MQTT directly. You can have Home Assistant listen to your MQTT network for message from sensors, and you can have it publish commands to switches and outlets.
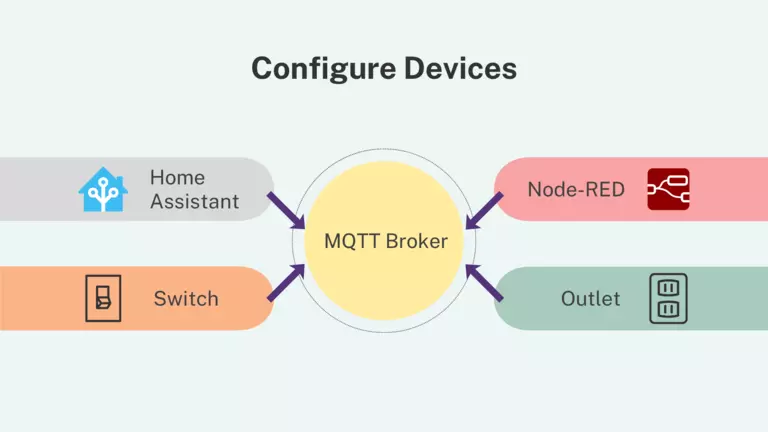
There is even a Home Assistant protocol for adding, deleting, and renaming MQTT devices. This makes it easy to add new devices to your home automation network. The zigbee2MQTT project is a great example of this. The integration between Zigbee and Home Assistant is seamless.
Node-RED can talk directly to your MQTT broker as well. It's simple to respond to MQTT packets and publish MQTT packets from Node-RED flows. Using Node-RED with MQTT, it's trivial to wait for an event, process that even with some logic, and then publish a command to a device.
These kinds of more complex home automations require communication between devices that don't speak the same language. Home Assistant goes a long way towards solving this communications problem. Since Home Assistant can talk to many services, it acts as a bridge between different devices.
How MQTT Works
Getting started with MQTT can be daunting. There are a lot of different terms and concepts that you need to understand. But once you get the hang of it, it's actually pretty simple.
This is a brief over-view of the most important MQTT concepts to help get you off and running with your own MQTT broker.
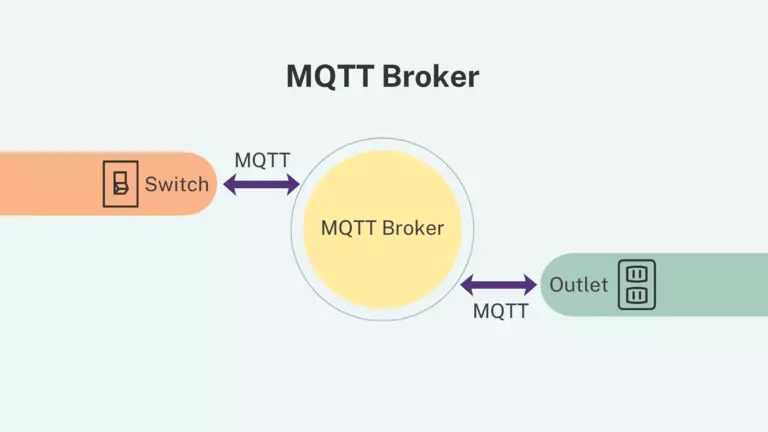
MQTT is Server Based
In order to run MQTT on your home network, you need to set up an MQTT service called a broker. This service is the central hub for all of your MQTT devices. It is the central point of communication for all of your MQTT devices.
You do not need a dedicated piece of hardware to run the MQTT service. You can run it in a Docker, in a virtual machine, or just run it on your existing home automation server.
There are many MQTT brokers to choose from. If you do not know where to start, we recommend Eclipse Mosquitto. It's a simple, lightweight, and easy to use MQTT broker.
Keep in mind that you need your broker to be running 24/7. If your broker goes down, your MQTT devices will not be able to communicate with each other.
When you install the Mosquitto broker, one of the options might be to install it as a system service. You want to do this, as it will make sure that the broker is running every time your boot your computer or server.
When you are first setting up an MQTT broker, do not turn on passwords or encryption. This will make it easier to test your MQTT devices. Once you have everything working, you can turn on passwords and encryption, if you want.
You should assign a static IP address to your MQTT broker. This will make it easier to connect your MQTT devices to the broker.
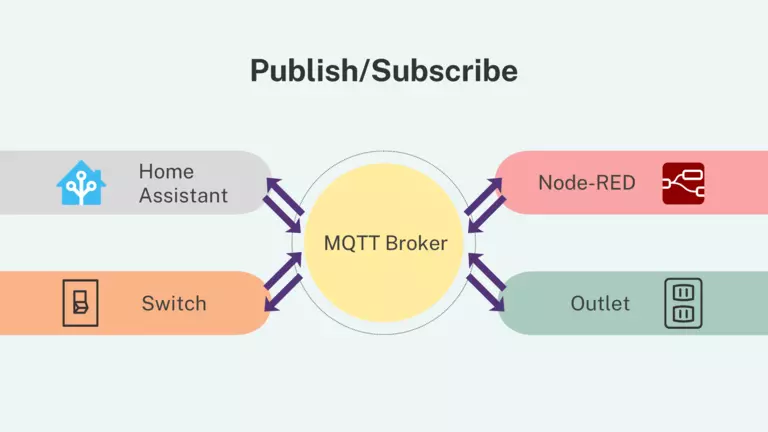
MQTT is a Pub/Sub Protocol
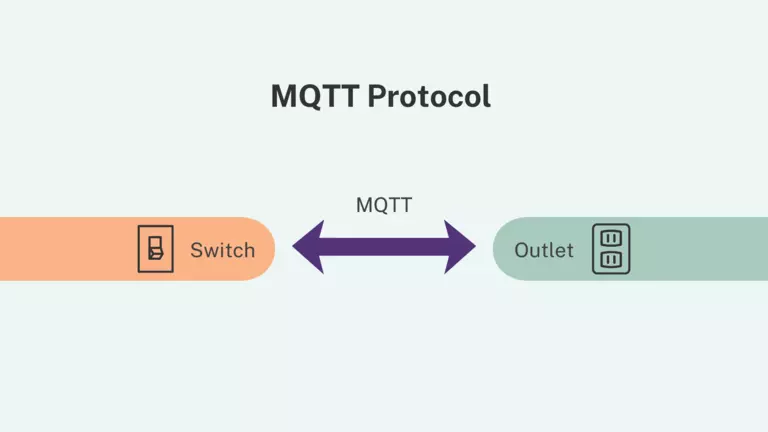
MQTT is a publish/subscribe protocol. This means that devices can publish messages to the broker, and other devices can subscribe to those messages.
When a device publishes a message, it is called a topic. The topic is a string that describes the message. For instance, a topic might be switch/bedroom/temperature. This topic describes the temperature in the bedroom.
MQTT Topics are Hierarchical
When a device subscribes to a topic, it can specify a wildcard to receive all message under that topic. For instance, a topic might be home/bedroom/#. This topic describes all the topics that start with home/bedroom/.
When a device publishes a message to a topic, all the devices that are subscribed to that topic will receive the message.
It is possible to subscribe to all topics by subscribing to the root # channel. This is not recommended, as it will cause your MQTT client to receive a lot of messages that it does not need to process. It is, however, extremely useful for debugging.
MQTT Runs on TCP/IP
MQTT runs on top of the TCP/IP protocol. This means that you need to have a network connection to use MQTT. It also means that MQTT is independent of other protocols such as Zigbee and Z-Wave.
There a many great things about running on TCP/IP:
- WiFi networks are easy to set up and inexpensive to run.
- Extending the range of a WiFi network is a common and well understood problem.
- It's easy to connect to your MQTT broker from the internet through a simple port forward.
If you do not already have a stable WiFi network, then you should work on getting your WiFi network stable before investing time in wireless MQTT devices.
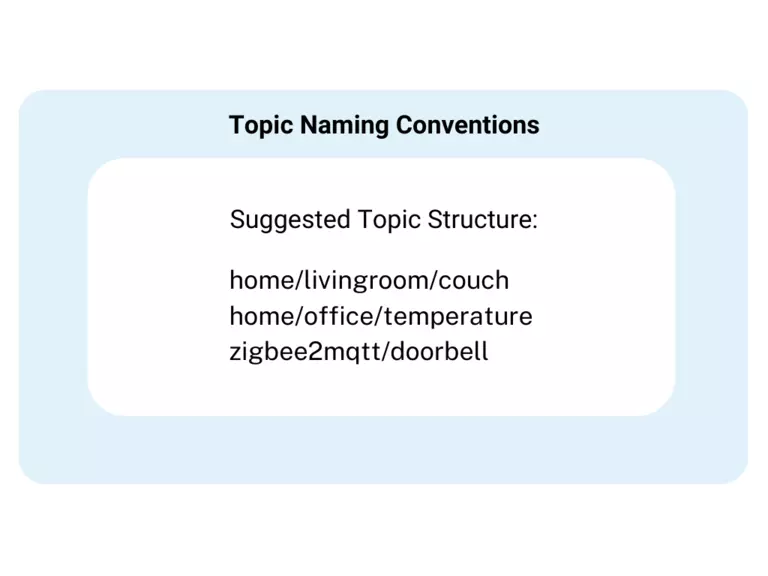
MQTT Topic Conventions and Suggestions
There are many ways to organize your MQTT topics. The most important thing is to be consistent. If you are consistent, then you can easily add new devices to your MQTT network.
Here are a few suggestions to help you get started on the right path.
Do Not Start Your Topics With a Forward Slash
MQTT topics are hierarchical. This means that you can subscribe to a topic and all of its subtopics. For instance, if you subscribe to the topic home/bedroom/#, you will receive all messages that start with home/bedroom/.
If you use a leading slash, then you are effectively creating an empty root topic. Everything before the first slash is a ghost topic that you can't really use. This is messy.
Just don't start with a leading slash, and you'll be fine.
Do Not Use Spaces in Your Topics
While the MQTT protocol does not care about spaces in your topics, some MQTT clients do. If you use spaces in your topics, you may have trouble connecting to your MQTT broker.
Avoid using spaces in your topics, and you'll be fine.
You'll bump into this problem the most with command line based MQTT clients. If you use the command line enough, you know just how troublesome spaces can be.
Think About Your Root Topic
Consider using root topics for all of your MQTT topics. This will make it easier to subscribe to all of your MQTT topics. For instance, if you use the root topic home, then you can subscribe to all of your MQTT topics by subscribing to home/#.
Zigbee2MQTT uses a root topic of zigbee2mqtt. This makes it easy to subscribe to all the Zigbee devices on your network.
The popular alternative firmware Tasmota uses a root topic of tasmota. This makes it easy to subscribe to all the Tasmota devices on your network.
It's a great choice to use home for your root topic in your home. This makes it seamless to later integrate other locations into your MQTT network. You might one day add office, shop, or car to your MQTT network as root topics.
Reserved Symbols
There are a few reserved symbols in MQTT topics.
Don't use the following ASCII characters in topic names:
- +
- $
- #
All other ASCII characters should be fine.
Divide Your Topics Into Locations
After your root topic, it's a good idea to use locations for your MQTT topics. This will make it easy to subscribe to all the devices in a particular location.
For instance, if you use the location bedroom, then you can subscribe to all the devices in your bedroom by subscribing to home/bedroom/#.
Many Devices Send JSON Data
Many devices send JSON formatted messages. JSON is a natural fit for this sort of data system, since it's easy to parse and easy to read.
A typical JSON message might look like this:
{
    "temperature": 72.5,
    "humidity": 45.2,
    "pressure": 1013.2,
    "battery": 100,
    "voltage": 3.2
}
This message describes the temperature, humidity, pressure, and battery levels for a particular device. Most MQTT clients can parse this message automatically. If you are using a command line client, sometimes you can use the --json flag to parse the message automatically. Home Assistant and Node-RED handle these messages without any extra configuration.
How to Integrate MQTT Into Your Home Automation System
When building out a home automation system, it's a good idea to think about MQTT as the core message bus. MQTT works as the glue the binds different systems together. In fact, we think about MQTT as one of the core 3 building blocks to a functional home automation system.
Home Assistant
Home Assistant can talk to 100's of different devices and systems. It's an amazing piece of software. However, its automations are difficult for many. Use Home Assistant for device control, the simple GUI, and the ability to talk to 100's of different devices and systems. Home Assistant is also excellent at maintaining a database of the current state of your system.
Node-RED
Node-RED is a visual programming tool, and its automations are amazing. Many people choose to use Node-RED for automations instead of Home Assistant because it is much easier to create and debug what is happening. Node-RED has deep integration into Home Assistant, so you won't miss out on any of the device control. Node-RED excels at running rules on your home automation system.
MQTT
Whenever possible, use MQTT as the backbone of communications between devices that do not have a native integration with Home Assistant. MQTT is a simple, lightweight, and reliable protocol. MQTT is especially useful for integrating home-made devices. MQTT is a great choice for the communications of your home automation system.
By considering MQTT a core component of your home automation system, you up the ability to automate anything. As long as you can connect your device to MQTT, you can automate it.
Popular MQTT Firmware and Software
There are many MQTT clients available. If you use Unraid, then you can find a list of MQTT clients in the Unraid Community Applications. Here are some of the more popular MQTT clients.
Zigbee2MQTT
Zigbee2MQTT is a bridge between a Zigbee network and MQTT. All devices on your Zigbee network are exposed as MQTT topics. This makes it easy to integrate Zigbee devices into your home automation system.
- If you have Zigbee contact sensors on your network, then zigbee2mqtt publishes a packet each time that sensor is opened or closed.
- Zigbee temperature sensors show up as MQTT packets each time the temperature changes, or every few minutes.
- Zigbee switches and outlets can be turned on and off by publishing a packet to the correct topic.
Zigbee2MQTT runs as a service that talks to a physical Zibgee bridge device. Many USB based Zigbee sticks are available. The most popular Zigbee stick is the CC2531. This stick is inexpensive and easy to use, but it is extremely limited in how many devices is supports.
EspEasy
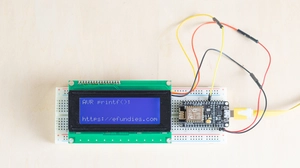
EspEasy is a popular firmware for ESP8266 devices. It's a great choice for connecting home-made devices to your WiFi network.
EspEasy can be flashed onto a wide variety of devices. Once flashed, EspEasy can expose all the device's sensors and switches as MQTT topics.
Tasmota
Tasmota is another firmware for ESP8266 and ESP32 devices. Like EspEasy, it's also a great choice for home-made devices. Tasmota can be flashed onto a wide variety of devices.
Once flashed, Tasmota deives can also expose all the device's sensors and switches as MQTT topics.
Popular MQTT Libraries
MQTT is available as a library in almost every programming language. Here are a few popular MQTT libraries:
- Node.js - Use MQTT in a Node.js and web browsers with MQTT.js
- Python - Use Paho MQTT
- .NET - MQTT is available in .NET with MQTTnet
- Perl - In Perl you can use Net::MQTT::Simple
Any of these libraries can connect to your MQTT broker, then send and receive messages.
Start With MQTT Early
As you design your home automation system, consider MQTT as a core component. By using MQTT early in your design, you'll be able to integrate more devices into your system. As your system grows, MQTT will become more and more central to keeping it running smoothly.
Your next steps:
- Install an MQTT broker
- Link home assistant to your broker
- Link node-red to your broker
- Set up a NodeMCU and put it on your MQTT broker
Everyone's home automation set up is different. What works for you might not work for someone else. However, we think that MQTT is a great choice for the backbone of your home automation system. It's simple, lightweight, and reliable. It's also easy to integrate into your home automation system.