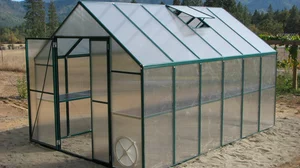
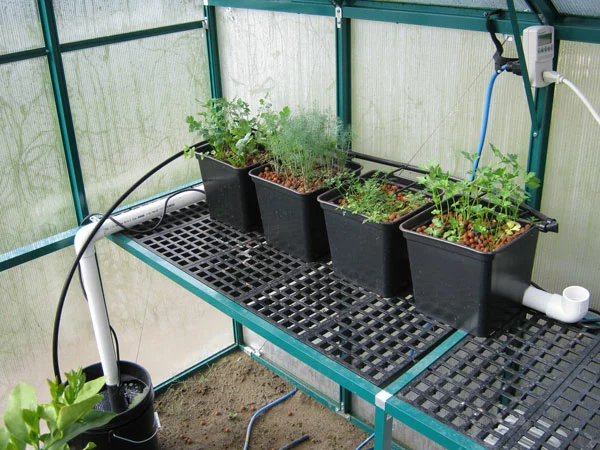
Of all the hydroponics methods I've tried, dutch buckets are probably the most effective at getting your plants to excel. I've never had as wonderful growth as I've had in dutch buckets. The results are simply amazing. However, they do not fit my normal list of requirements, so I can't say that they are for everyone:
- Low maintanence - yes
- Easy to find parts at local stores - not at all, unless you have a hydroponics store in town
- High yield - absolutley
- Leak proof for indoor use - not even close, don't build these inside... ever!
- Simple - not really
- Inexpensive - not really
How It Works
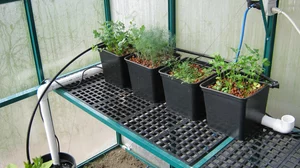
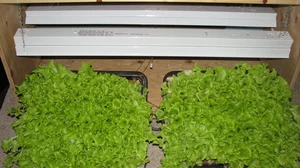
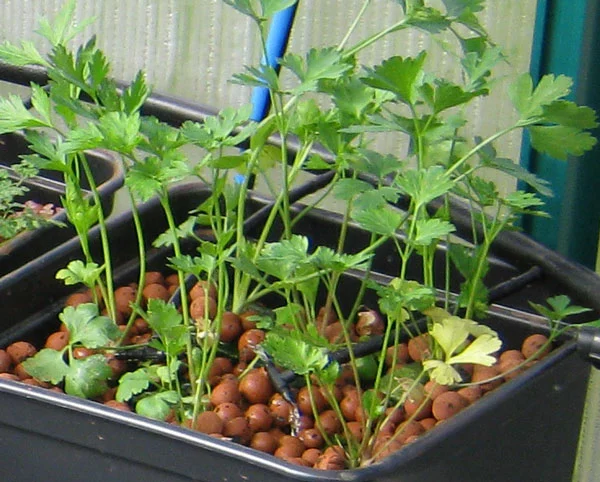
The black bucket at the bottom right of the photo is full of nutrient solution. There is a pump in the bucket which is plumbed up to the dutch buckets using 1/2" black flexible drip hose. At each dutch bucket there are 2 1/4" drip lines allowing the nutrient solution to water the plants. The nutrient solution bathes the roots and collects at the bottom of the dutch bucket, where it spills over into the white PVC pipe and gravity flows back down to the black 5 gallon nutrient reservoir.
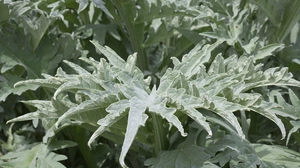
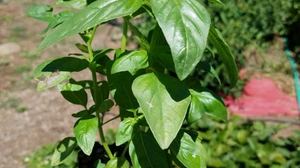
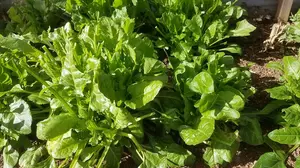
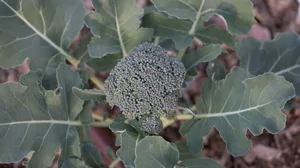
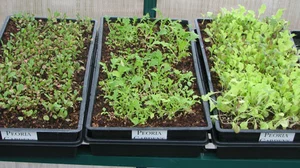
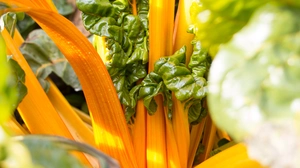
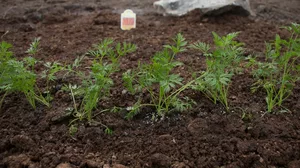
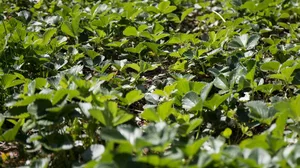
This method will work well for all herbs, including basil, flat leaf parsley, cilantro, chervil, dill, fennel, and any other plant the produces lots of leaves.
Getting Started
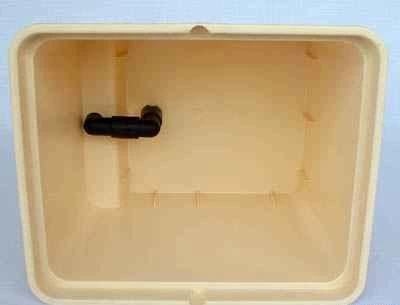
Order some dutch buckets from an online hydroponics vendor. They are frequently sold as "bato buckets" and come in a variety of sizes. I use the small buckets. When you order them, be sure to order "elbows". These are little pieces of plastic that help route the water from the bottom of the bucket out the hole in the shelf. Without the elbows you can get stagnant standing water in the bottom of your bucket, which roots don't like.
Nutrient Resevoir
You will need some kind of nutrient reservoir to put a pump in and hold your nutrient solution. I have been using a 5 gallon bucket and it seems to work perfect for me. Make sure that it is a clean, food grade bucket made out of HDPE #2. HDPE should be stamped on the bottom with a 2 inside the recycle triangle symbol. An easy way to get food grade buckets is from bakeries. They frequently purchase ingredients in 5 gallon food grade buckets and will sell them for cheap. I have heard the restaurants will sell you a pickle bucket as well.
Plumbing the Drip System
This is definitely the most difficult part of dutch buckets. I chose to use off the shelf drip hardware to water my plants. I use a 500GPH pond pump to recirculate the nutrient solution from the reservoir up to the buckets. Each dutch bucket gets 2 1/4" drip lines from the main line with a T fitting on the end to furthur distribute the water. The difficult part was adapting the pump outlet to the drip mainline. Plan on spending some time at the hardware store with your pump in hand for this part of the project.
PVC Pipe
The small buckets are designed to sit on 1 1/2" PVC pipe. When assembling your pipe you don't have to bother with glue, just pressure fit the pieces together. The pipe simply acts as a drain from the dutch bucket to the nutrient reservoir so there isn't much water pressure on it. This way when you disassemble it you can put it back together in a different configuration.
Drill 3/4" holes in your PVC pipe spaced at intervals for the dutch buckets to sit on them. For the little buckets pictured above I drilled my holes 12" apart.
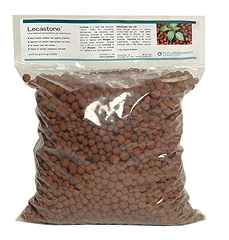
Growing Media
I use LECA stones in my dutch butckets. Some people like to use a mix of coco coir and LECA, but I think that's just too messy. LECA is also sold as hydroton.
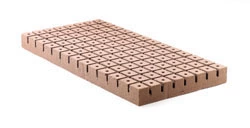
Seeds or Transplants
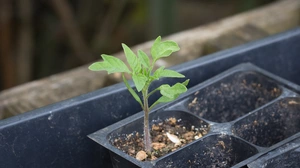
This method is good for transplants, not for seeds. You should start your seeds in Oasis Rootcubes, or another similar seeding media that will not fall apart. As soon as the seedlings have roots coming out of the root cubes you can transplant them to the dutch buckets.
Feeding Your Plants
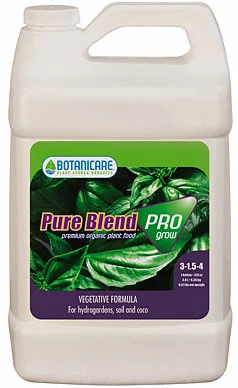
Use a quality hydroponic fertilizer such as Pure Blend Pro Grow mixed at the rate listed on the bottle. It is important to use a hydroponic fertilizer because a traditional fertilizer will not work without soil. The microbes that are present in soil will not be present in your hydroponic grow media, so you need a nutrient source that the plant can metabolize on it's own. I've also been experimenting with, and having good results with Technaflora Pura Vida products.
Changing the Nutrient Solution
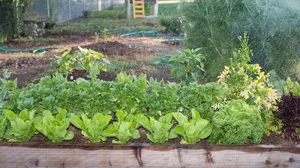
In the picture at the top of this page the plants were very young and could use the same nutrient solution for about a month. As they got older their nutrient demands went up. Now they need new nutrients about every 2 weeks.
Results
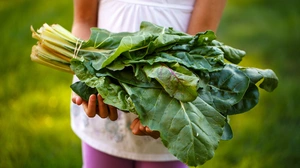
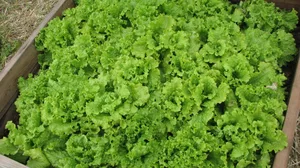
One of the best things about this method is that you don't have to water your plants; the pump takes care of it for you. You can ignore your crop for up to 2 weeks at a time. It's pretty easy maintenance. The other great thing about this method is how well it works. Plants absolutely love growing in LECA with nutrient solution flowing over their roots. These herbs have far surpassed my soil herbs, and in comparison are a much easier crop to maintain. However, setup was a lot more work than soil. If you are willing to do the work up front, dutch buckets are an excellent way to grow.
I hope that you get a chance to try this method of growing. It has really been great for me. Let me know if you have any suggestions on how to make this method better. You can get ahold of me here: jason (at) efundies.com