I recently purchased an 8x12 EasyGrow Greenhouse from LittleGreenhouse.com. I chose the EasyGrow kit mostly because of cost. I did a lot of research into polycarbonate panels, and was unable to purchase enough clear panels to stick frame a greenhouse and save money versus the EasyGrow kit.
Shipping on the panels was over $200 alone due to freight and crating charges. Plus with the EasyGrow kit you get aluminum framing which should resist rot and decay much better than wood.
All things considered, the EasyGrow kit seemed like a good way to get a greenhouse built for minimal cost.
Note: When this article was first written the EasyGrow Greenhouses were still for sale. Since then LittleGreenhouse has become ACF Greenhouses and they now manufacture the Grow More Greenhouse. From what I can tell it is almost the same thing as an EasyGrow only much better. If I were to purchase another greenhouse today I'm 99% sure it would be a Grow More. I've updated this article accordingly.
LittleGreenhouse offers free shipping on their greenhouses, and mine arrived by UPS in about 7 days. The boxes were badly beat up by UPS, but the parts inside seemed to be Ok. My UPS guy didn't like waiting around while I checked for damages, but I told him it was really important to me. He assured me that if it was damaged he could come back and pick it up later. Thankfully that wasn't the case. These greenhouses are packaged moderately well, so shipping damage should be unlikely.
UPDATE: When I got to the end of assembly I realized that the trim pieces that were bent at a 30 degree angle were supposed to be flat. There are 4 trim pieces that are 6 feet long each, and all 4 of them were badly bent out of shape. I'm contacting the manufacturer now to see about getting new ones shipped. Fortunately, I don't need the trim pieces to start using the greenhouse.
What's In the Boxes
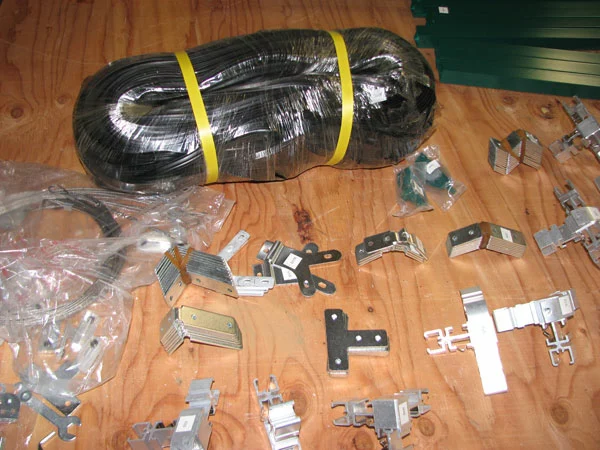
My EasyGrow 8x12 arrived in 3 boxes. Two of them were full of aluminum tubing and parts, and the 3rd was full of just polycarbonate panels. The first thing I did was open all of the boxes in my shop and start laying out the pieces.
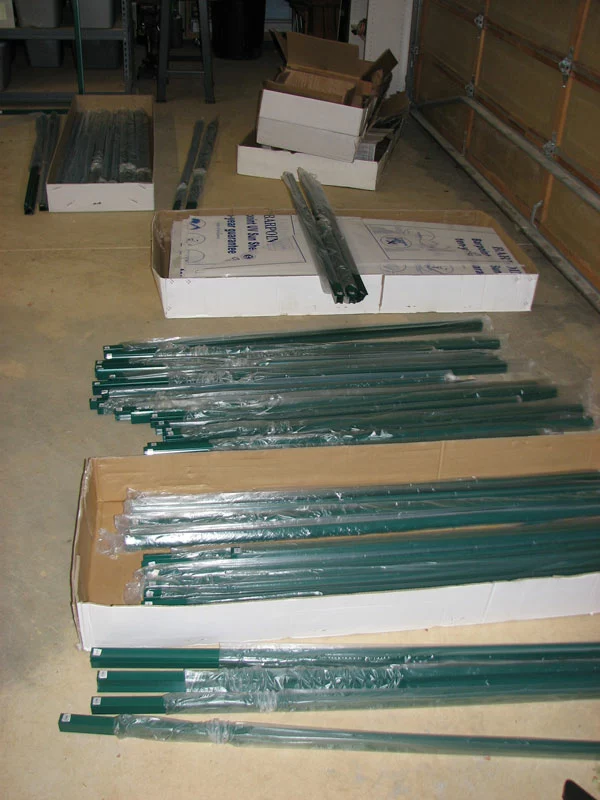
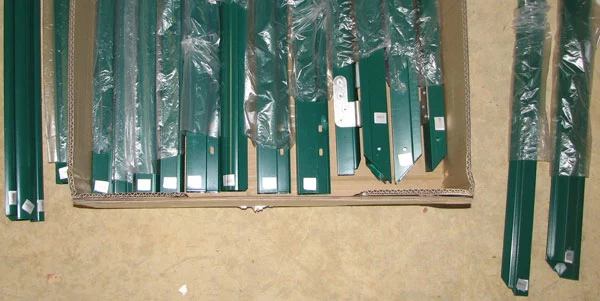
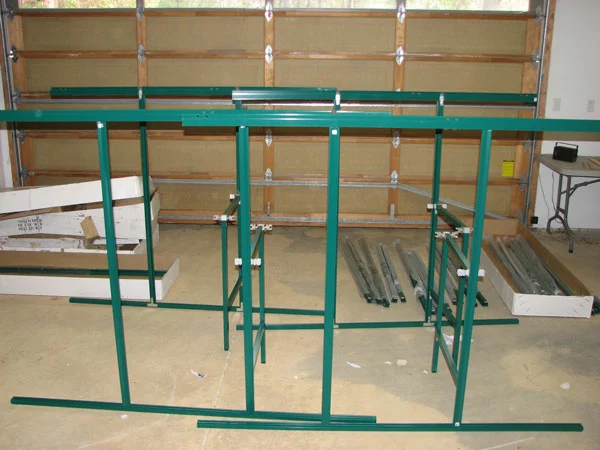
In the picture above you get a good idea of what is in the boxes. Here are some detail photos of the aluminum framing members.
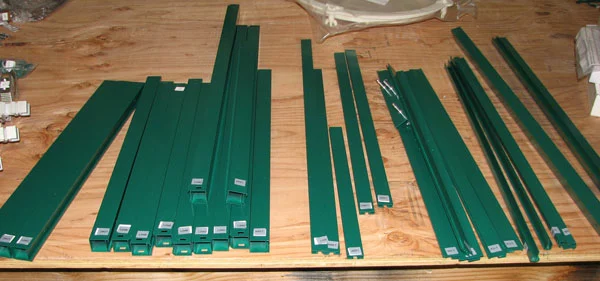
Above are the shorter framing pieces, layed out with the plastic removed.
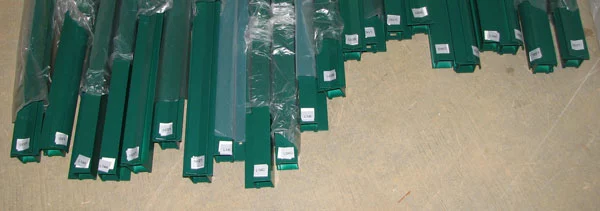
Here are the ends of some of the longer pieces layed out with their numbers exposed to make finding them easier.
Hardware, Click Connectors and Screws
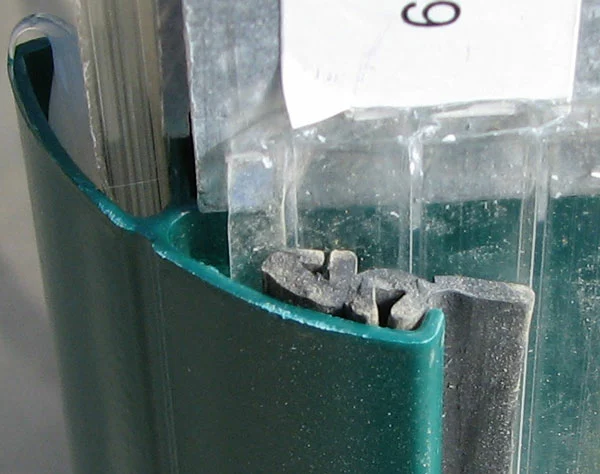
There are quite a few click connectors in the box. They are made of extruded aluminum with spring steel "click" makers. Once clicked in place they can be removed.
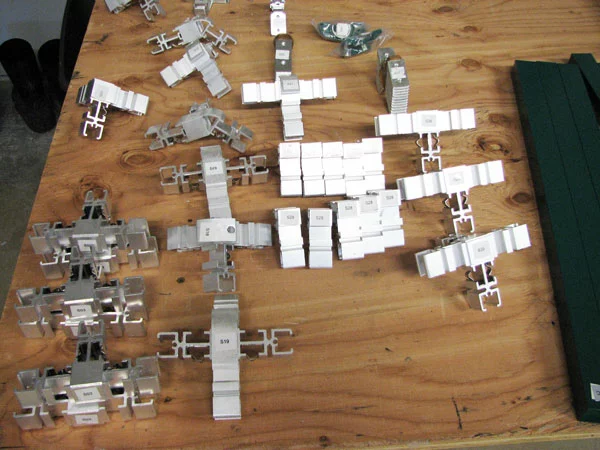
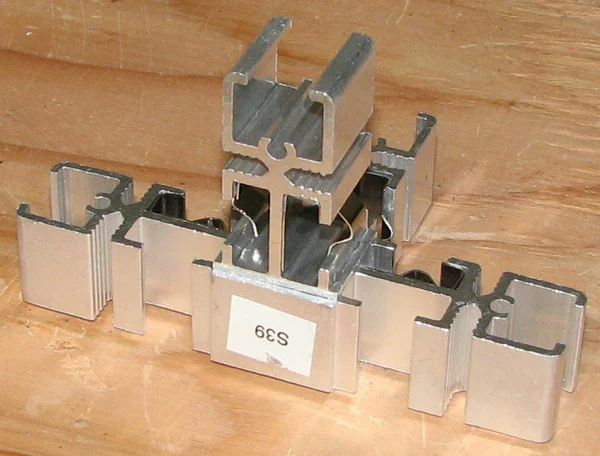
The click connectors are pretty nice. Here is a close up detail of one.
Don't be fooled by the click connectors, though. There are still 270 screws that need to be installed. An electric drill with a P2 bit is necessary!
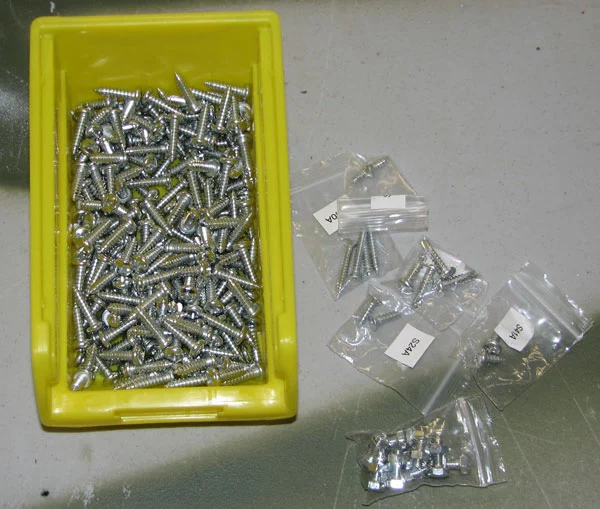
The most surprising thing in the box is the 20 pounds of weather stripping. This is going to take a long time to install.
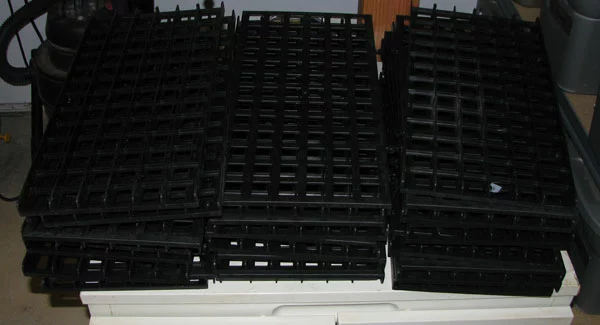
Shelves
There are lots of pieces of black ABS for the shelves. They seem to be very rigid.
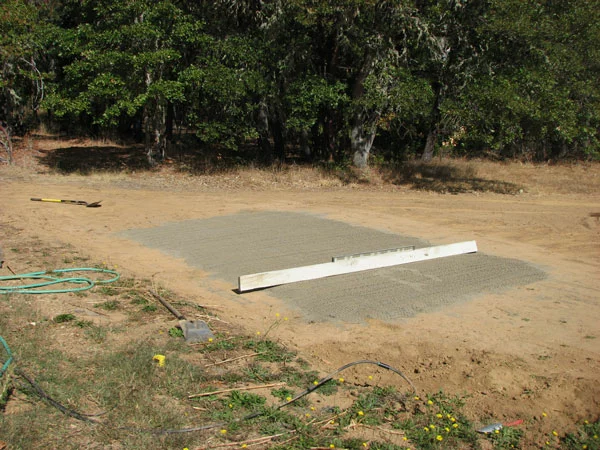
Site Preparation
It is important to start with a level site. The EasyGrow kit recommends not only a level site, but also concrete to be poured in 10 locations around the perimeter of the structure. The concrete is supposed to be 12" deep. Strangely, the advise you to pour it after assembling the kit so that you can sink some provided hold downs in to the concrete while it is wet. I'm not looking forward to that part.
UPDATE: It wasn't that bad. Read on!
Assembly
I started assembly today, and worked on it for about 4 hours. Here is an hour by hour of my progress.
After about 1 hour I had the back wall mostly framed. I spent about half that time just unpacking the boxes.

At about 2 hours in the back wall was done. The instructions recommend assembling it on it's back. Once put together it is very light and can be moved by one person quite easily. I carried it around in the shop without a problem.
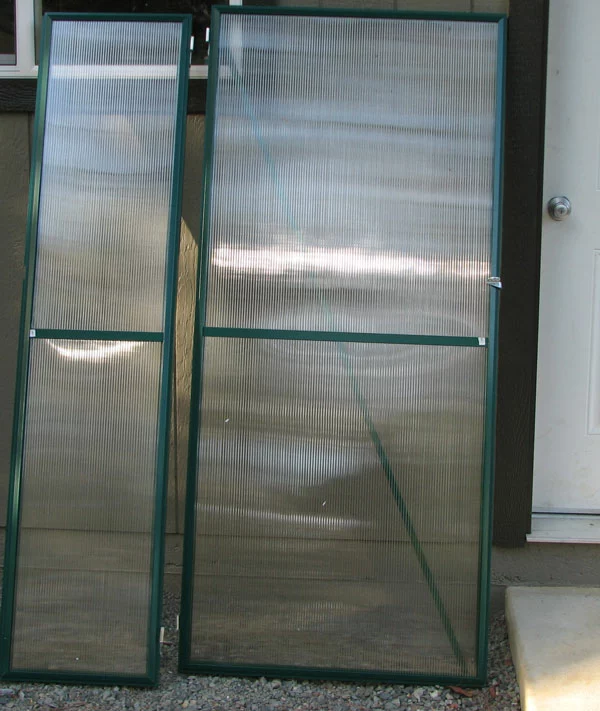
Another hour in and I had the 2 doors completed.
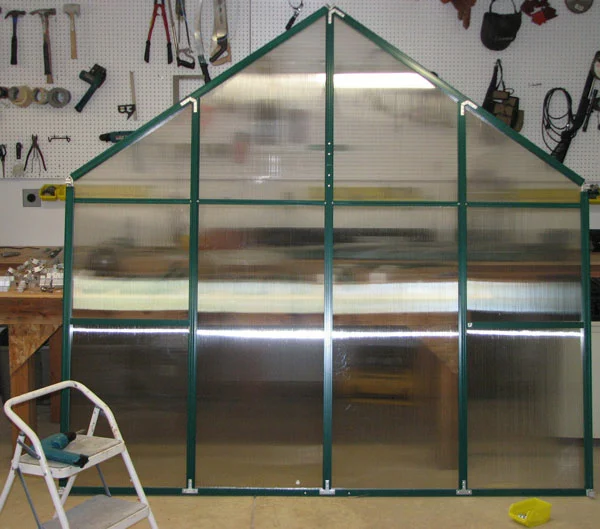
At the end of hour 4 I finished the front wall, which is also assembled laying down.
Here is a summary of everything that I managed to get assembled on the first day, and it took about 4 hours.
Assembly Day 2
When we last quit we had assembled the front and back walls, as well as the 2 front doors. We have also cut and leveled the pad where the greenhouse is going to be assembled.
Side Walls
Today we started off by putting together the side walls. Snapping the pieces together that form the side walls and the benches was my favorite part of the entire assembly. It involved the most use of click connectors and it was surprisingly fun to click all those connectors together. The side walls went together in about an hour.
At this point we skipped ahead in the instructions and assembled the roof gables so that we could get them done in the shop and not in the field.
The instructions recommend leaning the back wall against an existing structure while you snap on the left sidewall. We didn't have an existing structure so this step required help. The instructions don't mention needing help on this step, but it certainly made it a lot easier. Clicking the side walls on to the back and then the front was also fun, and took about another hour. We're up to about 6 hours at this point in time.
We also realized that we needed more sand and got another ton to put around the greenhouse. This makes 2 tons of sand, or about 2 cubic yards, for the project. If you are going to use sand as a base, use this number as a starting point.
Trusses
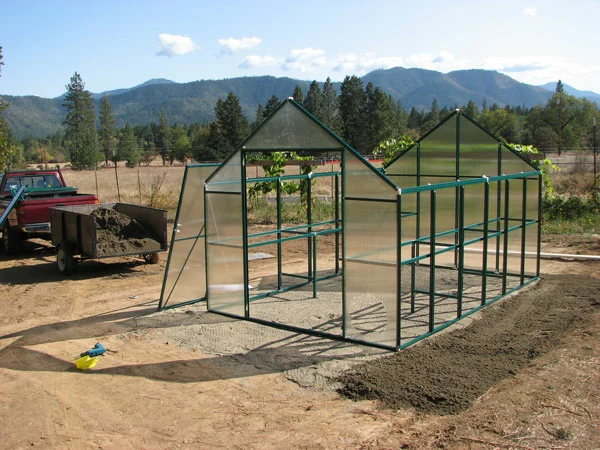
Here you can see that we have attached the roof gables. The instructions do mention needing assistance on this step, and it was indeed very helpful, but strangely not as helpful as on the previous step. If you can only get help once and you are tall, get your help to assist you attaching the side walls and not the roof gables. They were a breeze.
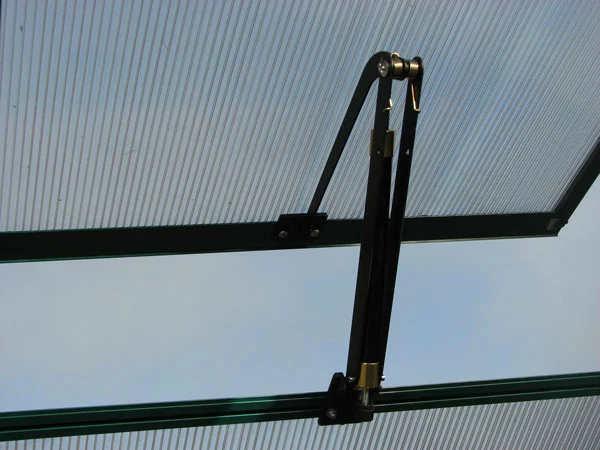
Here you can see that we have installed the roof vents and the front vent, as well as the cable bracings on the side walls. The Easygrow 8x12 comes with one manual roof vent and one automatic roof vent. They are straightforward to assemble and install. We'll show a detail of both vents.
The cables add a tremendous amount of rigidity in the forward-backward direction, but there is still some give in the left-right direction. Installing the cable keepers in the aluminum channel was difficult at first, but after a while you get the hang of it.
Vents
Here you can see the automatic roof vent. It is temperature adjustable and pneumatically driven. It seems to work fine so far, but I wish it closed a little tighter. The area around the roof vent is going to be the biggest heat loss in the winter.
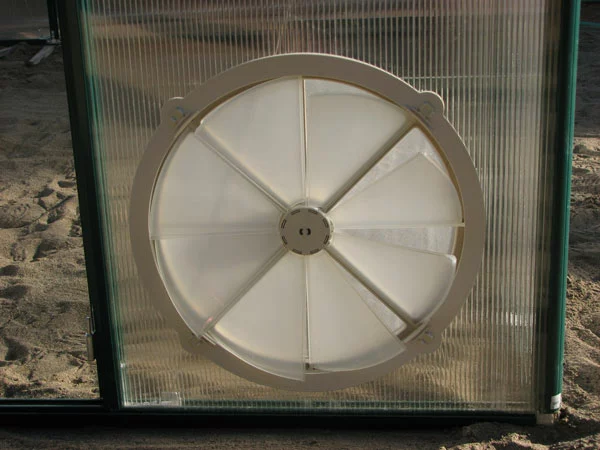
It also has a front vent that opens and closes by turning a handle on the inside. It works pretty good, unless you open it too far, then the flaps fall out of place and don't want to close. It is equipped with a screen to keep rodents out, which is a nice touch.
That's all that we got done on day 2. It took us about 3 hours of working on the kit for a total of 7, and another hour or so of working on sand and other site prep that I will not count in the kit assembly time.
Assembly Day 3
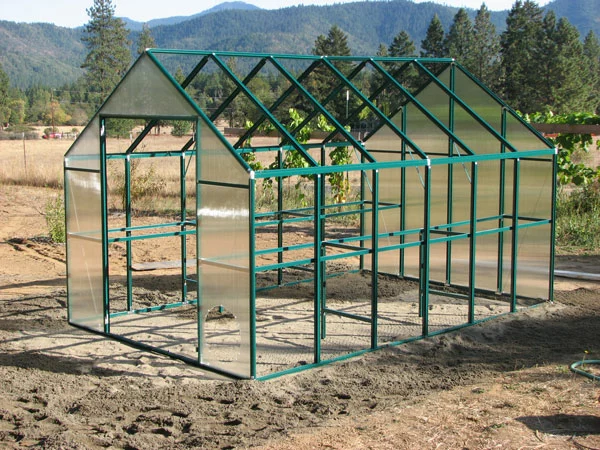
Today we put all the polycarbonate side panels and roof panels in. The most time-consuming part about this was removing the plastic protective layers from both sides of the panels. It wasn't awful, but it did take a while. The panels just slide in to place until you add the weather stripping later. They have a strong static electric charge and become dirt magnets, which is why ours look so dusty. Installing the panels took about an hour.

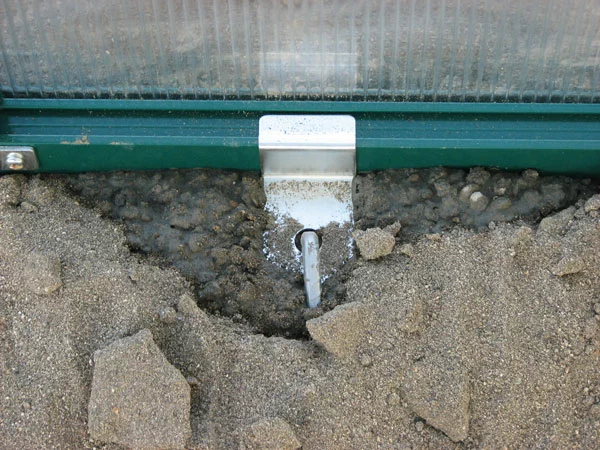
Next we dug the holes for the concrete and put in the hold downs. It wasn't as bad as I thought it would be, but it still took 3 hours to complete. We used sand to build a dam and really push the concrete up under the bottom channel to add support in case our sand washes away. You can fill the hole from the outside, then come inside and shape the concrete with your hands, drive the pin in place, and bury the concrete in sand. In this picture the concrete is mostly buried.
We used a 60 pound bag of Sakrete for each hole, and the instructions recommend 10 holes, so plan on getting at least 10 bags of concrete. Premix in a wheel barrow and transfer to the hole with a spade shovel.
With the 7 hours from the previous 2 days we are up to 10 hours of assembly time and not quite done yet. However, the kit is going together very nicely, and we should be able to get it done tomorrow.
Weather Stripping
The black rubber weather stripping was by far the most disappointing part of the entire greenhouse kit. It was impossible to install, even with a free weather stripping install tool, which is basically the same tool you'd use to install a new screen in a screen door.
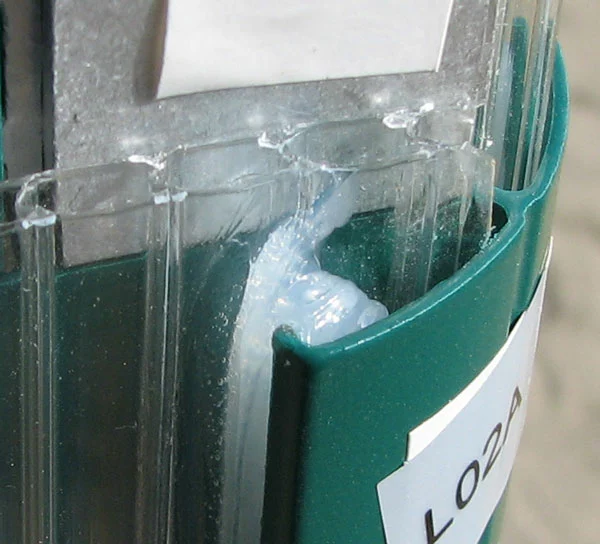
It took so much force to install that there was no way we could install it all. Many times the installer would simply tear through the rubber. The manufacturer suggests that if the weather stripping is too difficult to install that you can seal the greenhouse up with 100% silicone caulking.
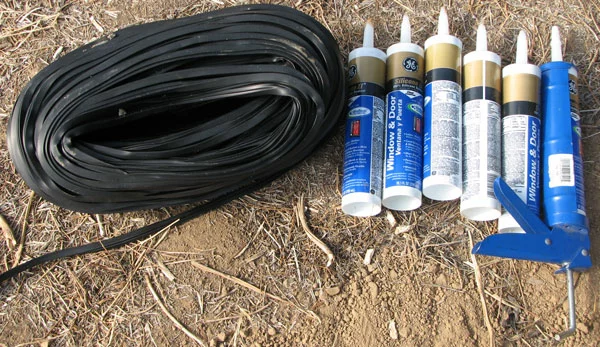
After a lot of research, we decided to give GE Silicone II a try because it is a high quality, polycarbonate safe 100% silicone. We tested on a small area and let it cure overnight to make sure that it wasn't going to fog up the polycarbonate; something that an acid curing silicone can do. This means day 4 is over and we had to wait until day 5 to finish up.
Assembly Day 5
The next morning the silicone was dry and clear and the polycarbonate looked great. GE Silicone II is definitely the way to go. In the end we used 7 tubes, at $4 each.
Here are some comparison shots of the rubber weather stripping installed in case you are curious.
It looks like a great way to weather strip the polycarbonate panels in but it was just too difficult to install. Here's a shot of the silicone in place.
It took about 2 hours to seal every joint. The roof was the hardest. It was so hard that I can't imagine how the manufacturer expects you to install the weather stripping up there. You'd have to get your entire body weight up there on top of the greenhouse. Maybe they expect you to build a scaffolding and stand on that? It is borderline ridiculous.
In any case, even installing the silicone up there was a challenge, and quite dangerous. We found that leaning a 6' step ladder on the side wall and carefully climbing to the 4th step got us high enough that the tip of the caulking tube just reached the peak. Just don't make a mess up there because it will be awfully hard to clean up. Cut the tip of the caulking a little big and at and angle and you can really fill in the gaps well in just one pass.
Once the silicone finished curing, structurally the greenhouse was much more stable. In fact it's just about rock solid now with almost no movement when you lean on it.
The Last Piece
It's finally time to install the last 4 pieces of trim. Surprise! They're bent!
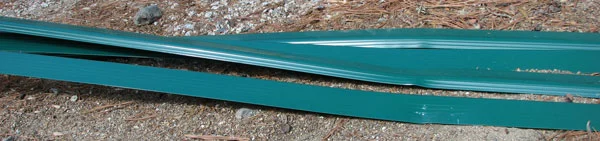
We hadn't noticed this when unpacking the greenhouse because they were wrapped in plastic. We bent them back straight but they look awful. We went ahead and installed them just to get the project looking completed, and then called the manufacturer to get some new ones sent out.
Note: The manufacturers phone number has changed from the one that is printed on the newest revision manual. The correct phone number for EasyGrow customer service is: 1-877-782-4482
I got a real live person on the phone right away and told her my problem. She took my name and address and the list of 4 bent part numbers and said new ones would ship out FedEx the next day. Quick and easy. Good customer service!
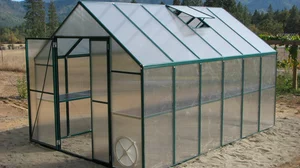
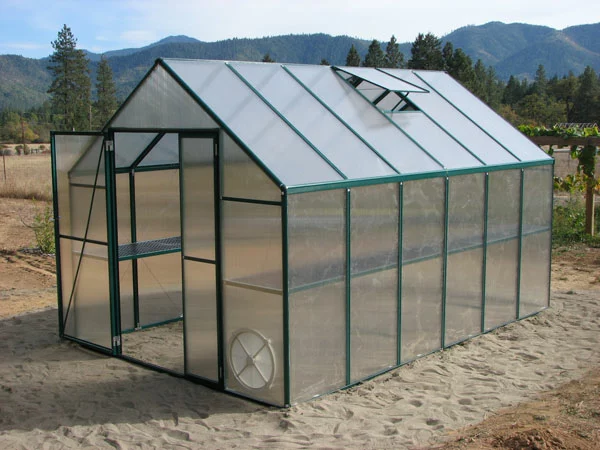
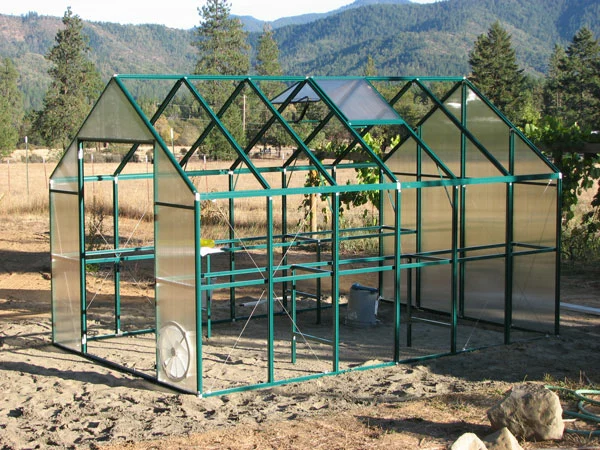
Completed Greenhouse Photos
Here are some completed photos. We haven't washed it yet because the caulking was still curing when these pictures were taken, so the polycarbonate is still dusty looking.
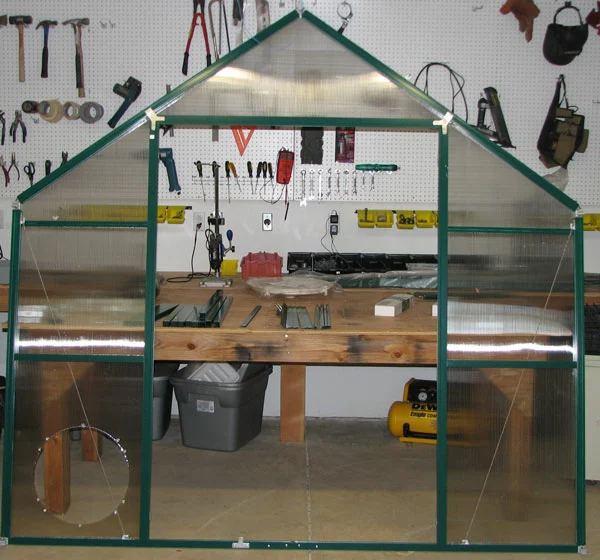
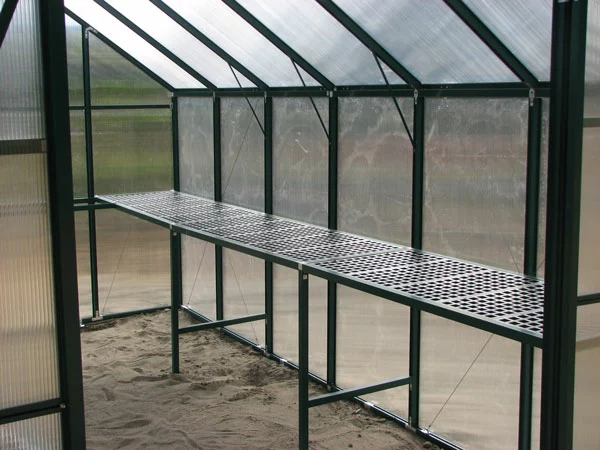
Here's a shot from the inside looking out.

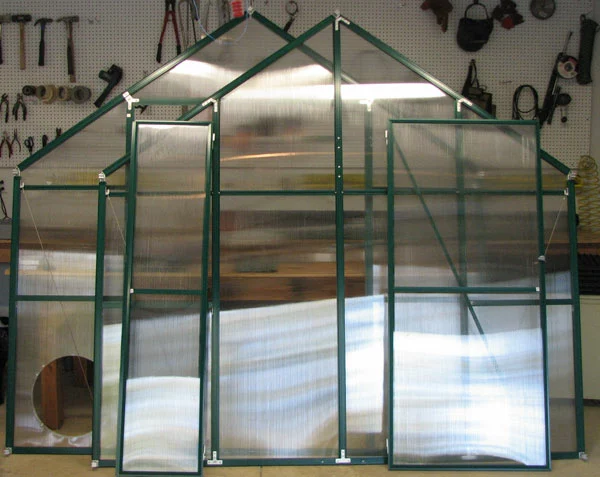
And here is what it looks like looking in to the right with both doors open.
Summary
All in all, this is an excellent greenhouse kit. Our total time spent working on the kit was approximately 13 hours, and it spanned 5 days. The final product is incredibly nice; much nicer than I expected it to be. The benches are solid and spacious and everything like the doors and the vents seem to function very well. The structure is nice and solid and very well designed. Assembly was straightforward and quite simple. The instructions were easy to read, and all of the parts fit together very nicely.
This kit has a few gotcha's, though, so consider yourself warned. You have to buy 10 bags of Sakrete to properly anchor it into the ground, and you should buy 7 tubes of silicone to seal in the polycarbonate panels. Installation took almost twice as long as the instruction manual suggested, too, so don't plan on finishing this kit in a weekend. Plan on two weekends at least.
I can definitely recommend an Easy Grow Greenhouse to just about anybody who wants to set up a hobby greenhouse. I can't wait to start using it.